From the ashes... What did you do to your roadster today?
Moderators: LilRay.Sun, Furai, Growler, zorruno, jif


-
Ben.Nakagawa
- Need, more, 5-ing, time....

- Posts: 159
- Joined: Fri May 19, 2006 1:46 am
- Location: Nelson
Installed stainless HVAC panel and meter surround.
those are JASS Performance. Vent ring is from Moss Motors.
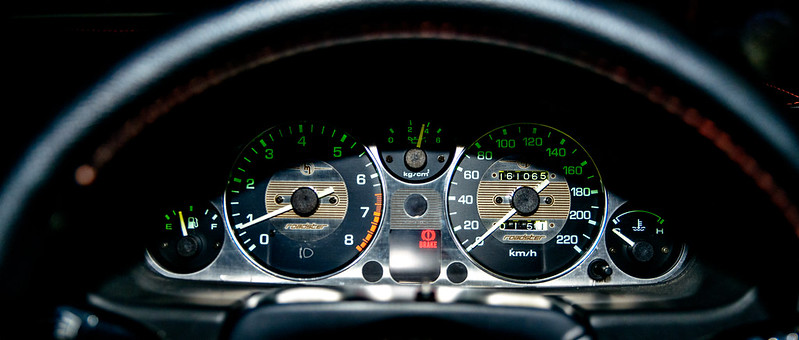
Roadster by Ben Nakagawa, on Flickr
I had a pealed AC button so polished to clear, that is why lit up green.
Ross's leather dash mat is shrinking a but but nicely hide the clack I have.
It is my todo list in some time in future.
Also sometime in previous life before me, some one obviously attempted to remove meter cluster glass and clack at bottom tab. It's not too obvious when it's all installed in the car but anothe like added to my todo list in the future.
I'm ordering extra meter ring to better fit of that stainless panel on cluster.
Also I'm seriously thinking CabonMiata's aluminium door panel right now.
BTW, bit of silly question, as I just may be not fist time but consciously noticed... For NA user especially early one, your speed meter move when you backing up?
those are JASS Performance. Vent ring is from Moss Motors.
Roadster by Ben Nakagawa, on Flickr
I had a pealed AC button so polished to clear, that is why lit up green.
Ross's leather dash mat is shrinking a but but nicely hide the clack I have.
It is my todo list in some time in future.
Also sometime in previous life before me, some one obviously attempted to remove meter cluster glass and clack at bottom tab. It's not too obvious when it's all installed in the car but anothe like added to my todo list in the future.
I'm ordering extra meter ring to better fit of that stainless panel on cluster.
Also I'm seriously thinking CabonMiata's aluminium door panel right now.
BTW, bit of silly question, as I just may be not fist time but consciously noticed... For NA user especially early one, your speed meter move when you backing up?
- Attachments
-
Last edited by Ben.Nakagawa on Tue Oct 28, 2014 8:41 am, edited 1 time in total.
Ben
1989 Red NZ New (100746) - sub grade paint and many small ding
1989 Red NZ New (100746) - sub grade paint and many small ding


-
Snapfrozen
- I am quitting my job and going 5-ing

- Posts: 747
- Joined: Sun Jun 24, 2012 11:58 am
So put in more work today. Got a few pieces off the old motor. Have painted the block and ready to paint the head - both being done together and just masking, way fucking easier.
Also started stripping pieces off the old motor that I'm going to use. Found it much easier getting the correct bolt sizes by taking off a piece at a time and the spare motor is missing the occasional bracket.
Current situation with bits and bobs:
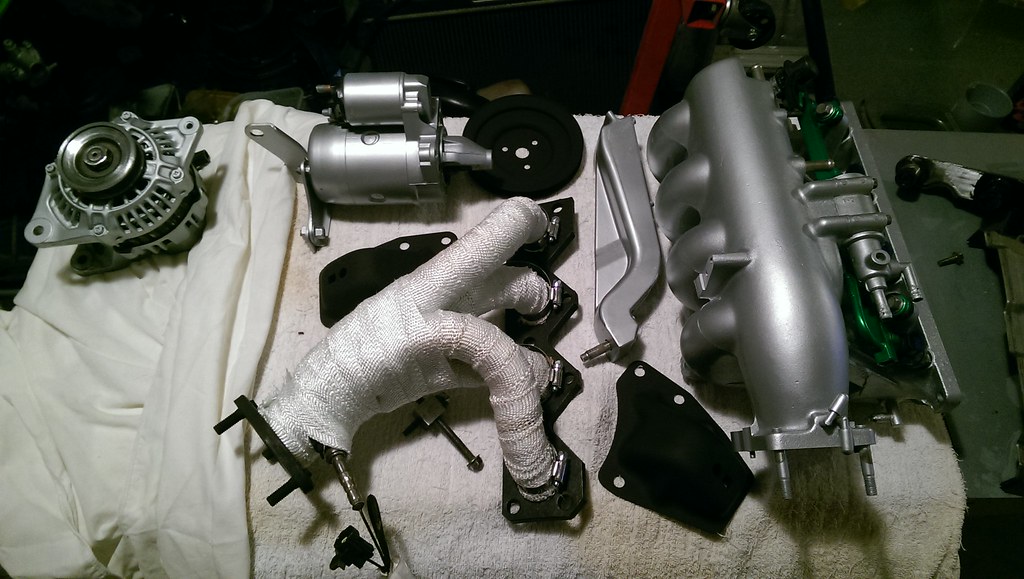 IMAG0183 by Jarred McLachlan, on Flickr
Alternator all ready to go on:
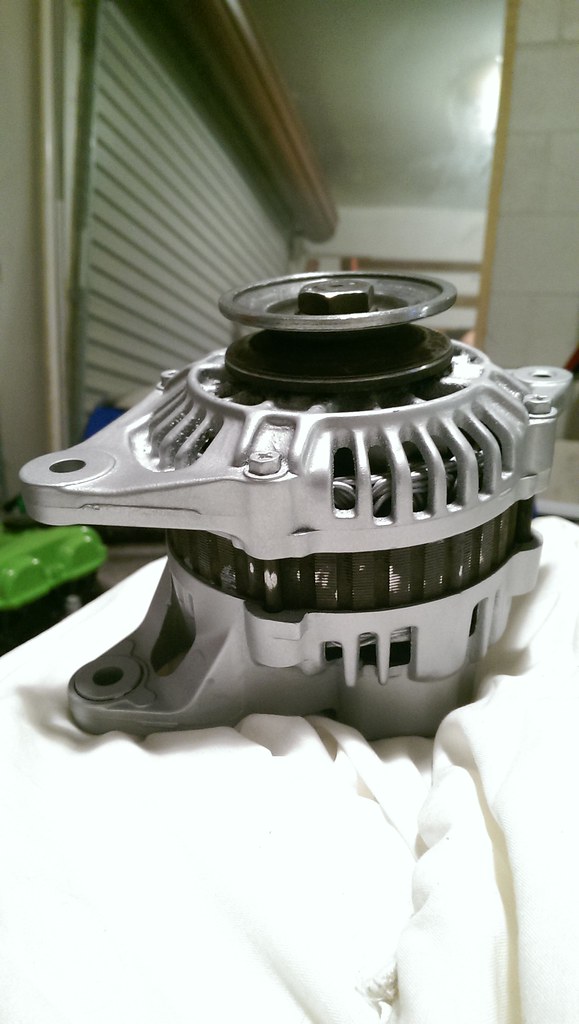 IMAG0184 by Jarred McLachlan, on Flickr
Alternator adjustor - Thanks dremel.
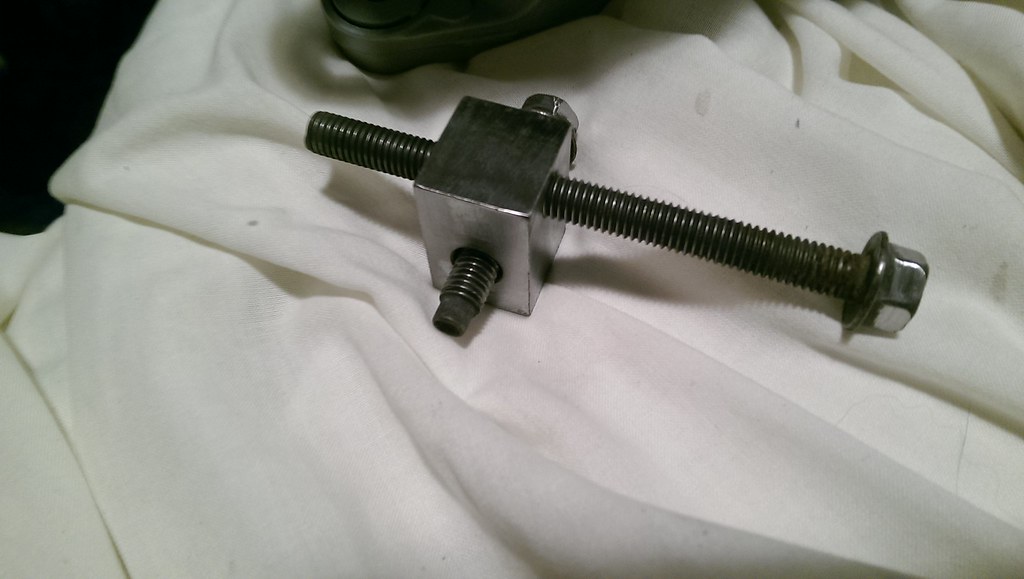 IMAG0185 by Jarred McLachlan, on Flickr
Alternator bracket all prepped for paint:
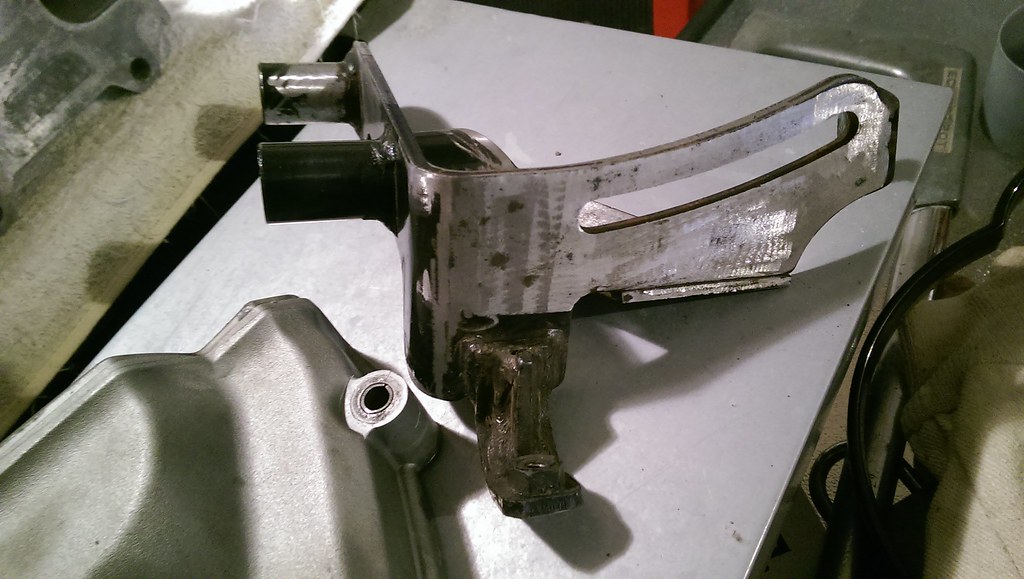 IMAG0188 by Jarred McLachlan, on Flickr
Test fitted the intake mani which is all ready:
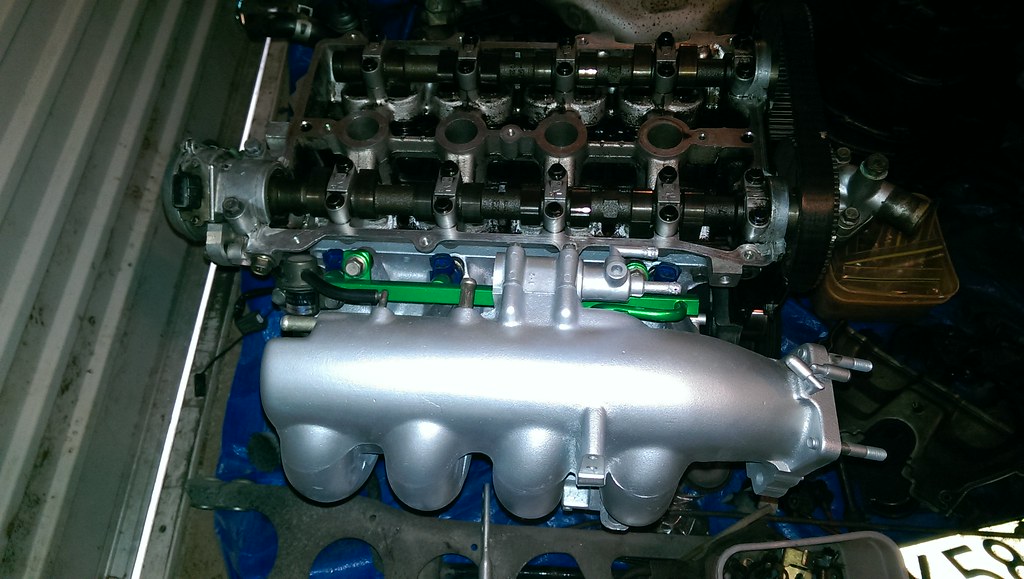 IMAG0178 by Jarred McLachlan, on Flickr
The current situation:
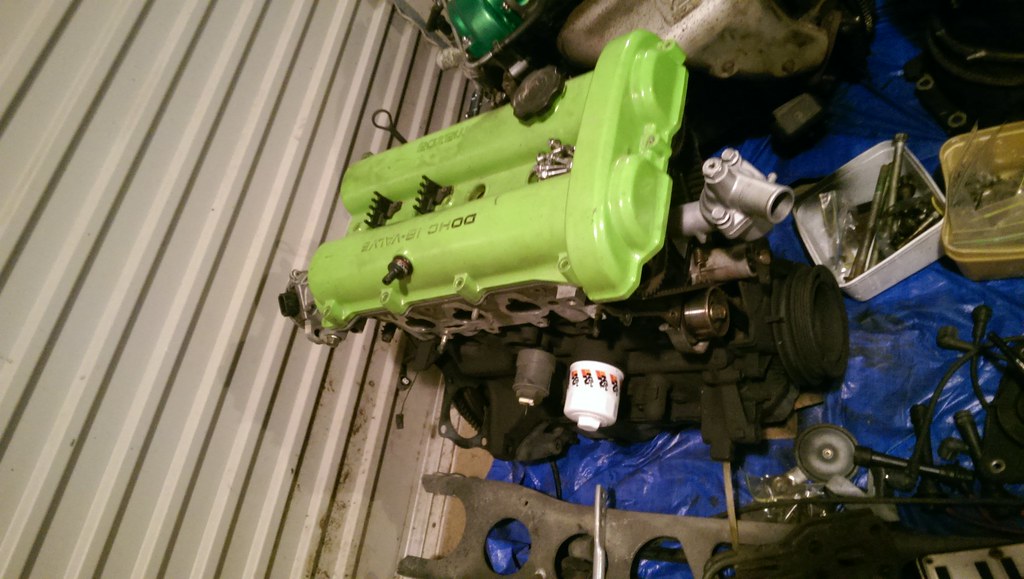 IMAG0190 by Jarred McLachlan, on Flickr
Only the P/S pump and all the auxillary hoses to go on now and she's ready to go in. As for the car I need to do 2 major things -
1. Engine bay - remove the AC hard lines, remove the headlights, sand/clean the bay, paint the bay.
2. Remove the front suspension and subframe to clean/paint that. Will put in new bushes on the front and install grease nipples to make re-greasing them easy. Paint it all and back in.
Hopefully 1 months work with motivation?
Also started stripping pieces off the old motor that I'm going to use. Found it much easier getting the correct bolt sizes by taking off a piece at a time and the spare motor is missing the occasional bracket.
Current situation with bits and bobs:
IMAG0183 by Jarred McLachlan, on FlickrAlternator all ready to go on:
IMAG0184 by Jarred McLachlan, on FlickrAlternator adjustor - Thanks dremel.
IMAG0185 by Jarred McLachlan, on FlickrAlternator bracket all prepped for paint:
IMAG0188 by Jarred McLachlan, on FlickrTest fitted the intake mani which is all ready:
IMAG0178 by Jarred McLachlan, on FlickrThe current situation:
IMAG0190 by Jarred McLachlan, on FlickrOnly the P/S pump and all the auxillary hoses to go on now and she's ready to go in. As for the car I need to do 2 major things -
1. Engine bay - remove the AC hard lines, remove the headlights, sand/clean the bay, paint the bay.
2. Remove the front suspension and subframe to clean/paint that. Will put in new bushes on the front and install grease nipples to make re-greasing them easy. Paint it all and back in.
Hopefully 1 months work with motivation?


-
SkilletKid
- I have stars and not afraid to use them

- Posts: 288
- Joined: Mon Jan 21, 2013 8:26 pm
- Location: North Shore, Auckland
-
Snapfrozen
- I am quitting my job and going 5-ing
- Posts: 747
- Joined: Sun Jun 24, 2012 11:58 am
-
GRUVBB
- I am quitting my job and going 5-ing
- Posts: 677
- Joined: Sat May 04, 2013 4:50 pm
- Location: Fastlane to Ak
I went to fit my REDBEN radiator slam panel. Once the cap screws and spacers are positioned onto panel I am unable to get bonnet latch to pass through the opening to fit it into position. Also the bonnet release cable retention bracket fits up through the frame work and the panel will not sit flush on engine side. It is proud by about 5 mm and there is nothing on passenger side. Will this not rattle when vibrating due to being elevated on one side. Any pointers appreciated thanks.
-
Furai
- I have stars, you haven't. Deal with it

- Posts: 1394
- Joined: Tue Feb 14, 2012 5:57 pm
- Location: New Zealand
Do you have any pictures?GRUVBB wrote:I went to fit my REDBEN radiator slam panel. Once the cap screws and spacers are positioned onto panel I am unable to get bonnet latch to pass through the opening to fit it into position. Also the bonnet release cable retention bracket fits up through the frame work and the panel will not sit flush on engine side. It is proud by about 5 mm and there is nothing on passenger side. Will this not rattle when vibrating due to being elevated on one side. Any pointers appreciated thanks.
Cheers to Coxie I got some new panels fitted up, looks much better but still needs work. Also fitted the Mazdaspeed comp engine mounts. ($94 from Mazda NZ)


These are the engine mounts I pulled out, Even one of the metal plates is bent.

-
Snapfrozen
- I am quitting my job and going 5-ing
- Posts: 747
- Joined: Sun Jun 24, 2012 11:58 am
Who is online
Users browsing this forum: No registered users and 19 guests
