
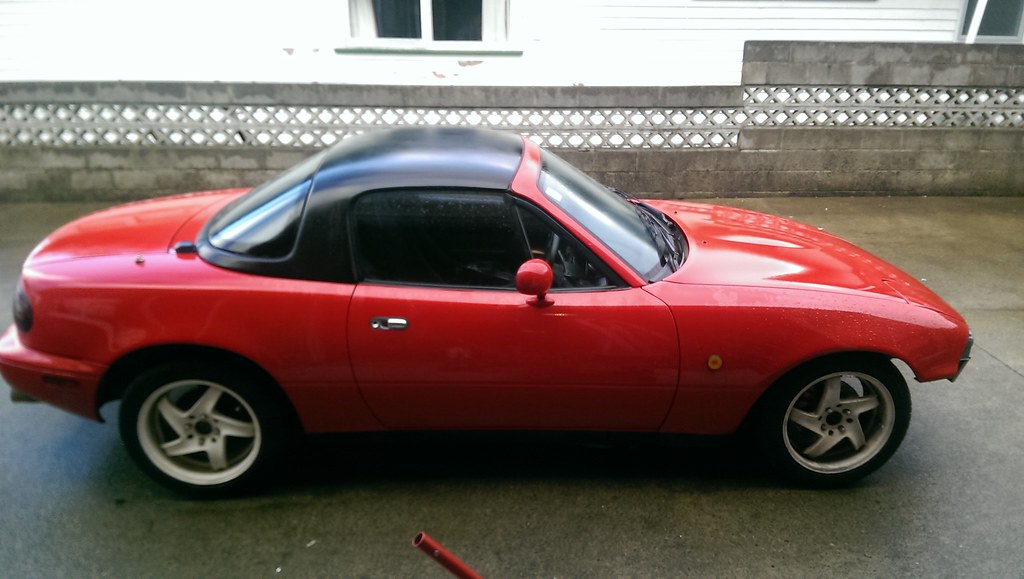
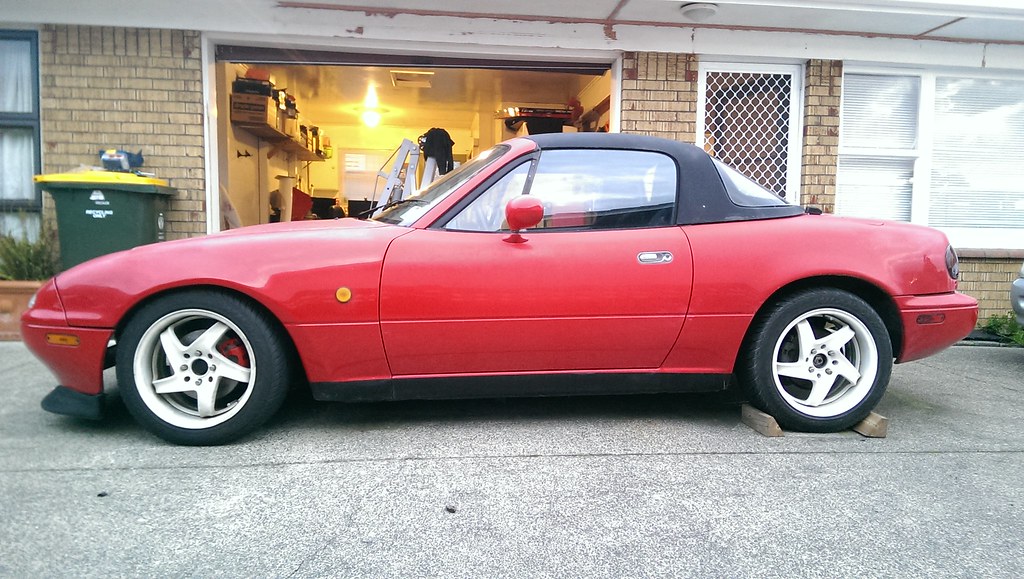
Now that your up to speed there is a wee red 89 here you can have a go
at...........................no?
Darn
Biff
-----Original Message-----
From: CordedBowl
Sent: Sunday, July 12, 2015 6:07 PM
To: mx5talk@mx5forum.co.nz
Subject: [MX5] Re: From the ashes... What did you do to your roadster today?
Today I did the most baddass, most ocd clean, detail, wax & vacuum on the '5
ever, then I swapped some NB seats in to replace the mank old ones I spilled
Nanas crock pot of soup on.
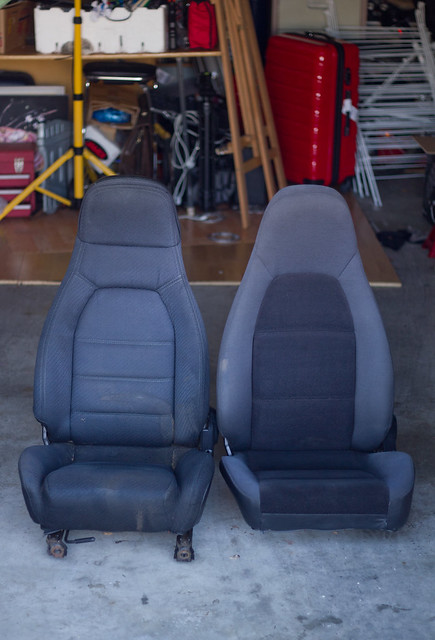
New vs. Old
[Image: https://farm1.staticflickr.com/262/1959 ... 980a_z.jpg ]
(https://flic.kr/p/vRHHiQ)
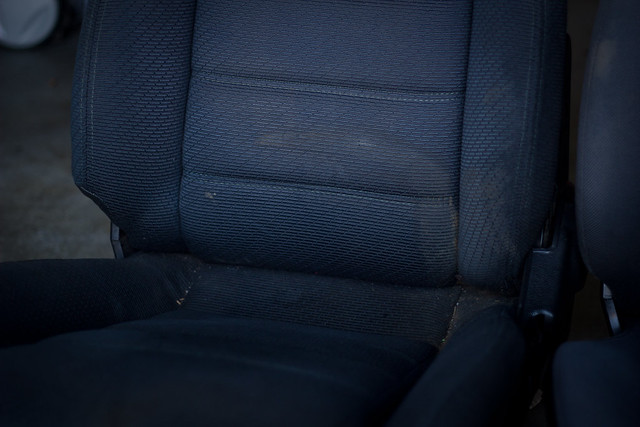
Dat soupstain doe
[Image: https://farm1.staticflickr.com/328/1959 ... 16cf_z.jpg ]
(https://flic.kr/p/vRHFXy)
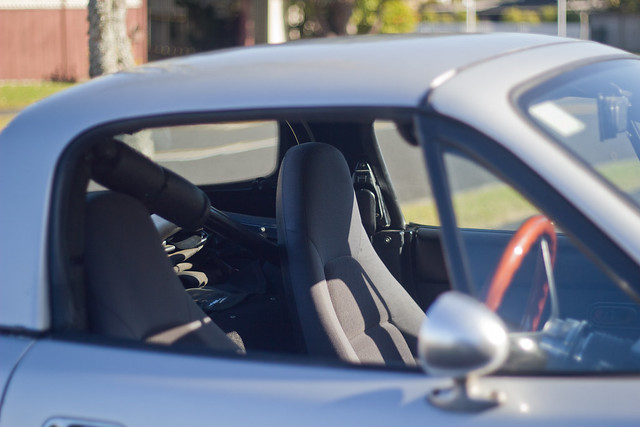
Seats installed, that wasn't so bad! Perfect fit on NA rails.
[Image: https://farm1.staticflickr.com/289/1943 ... 896e_z.jpg ]
(https://flic.kr/p/vBq885)
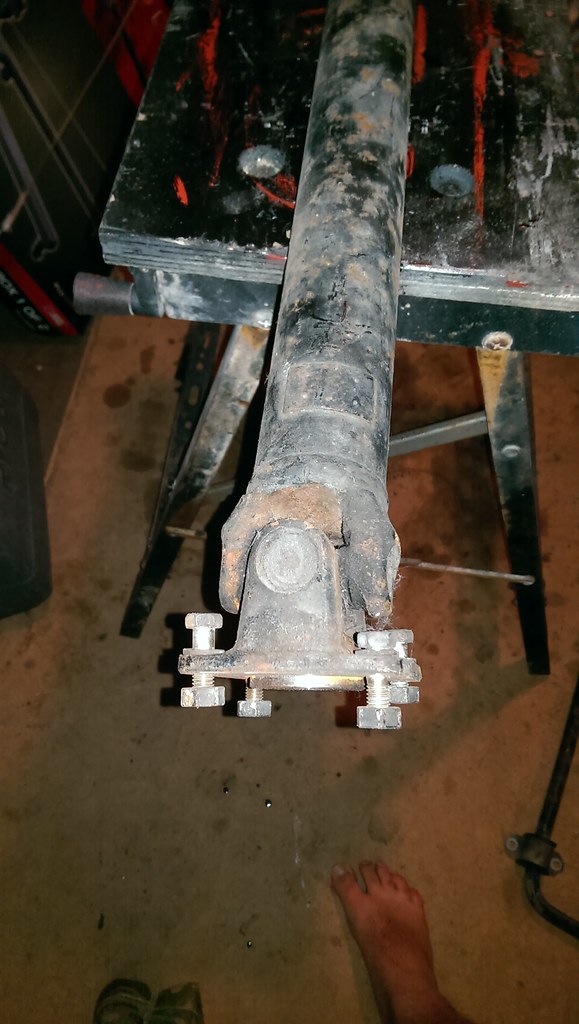
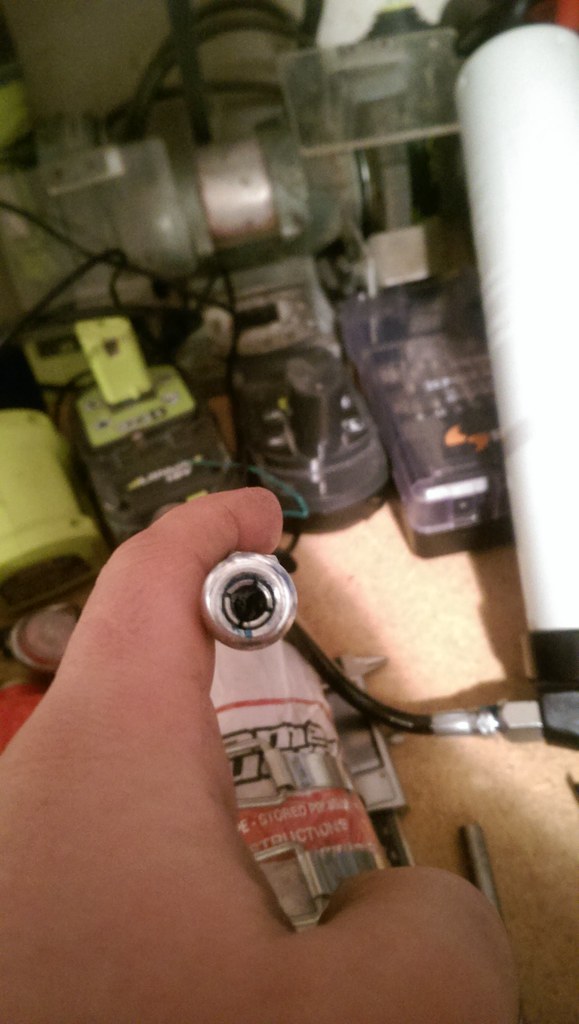
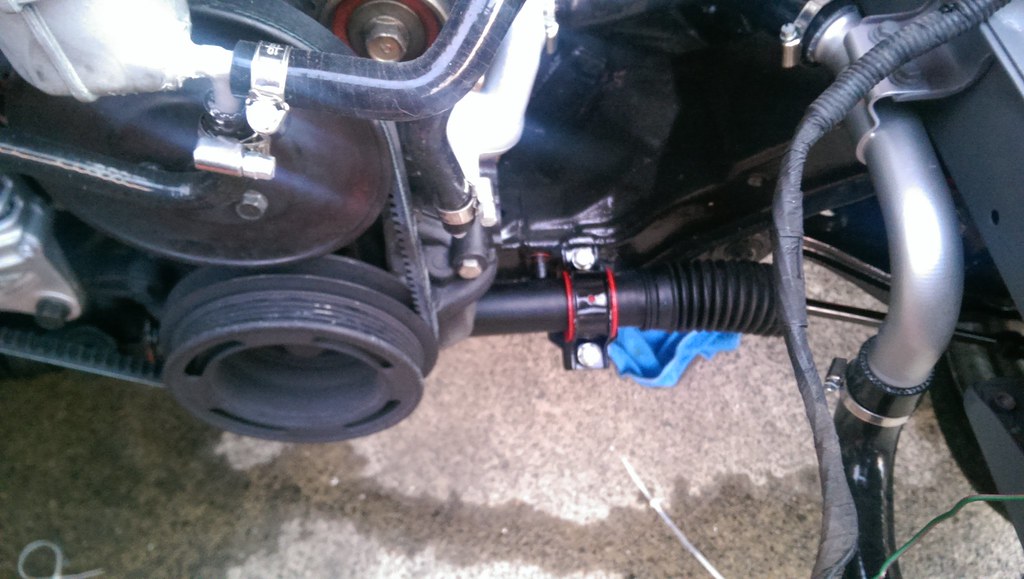
Went to go take the seats for a test drive around the neighborhood kaCLUNK
CLUNK CLUNKChhhhhhhh, I literally had driven 5 meters and the gearbox shat
itself... ¯\(°_o)/¯
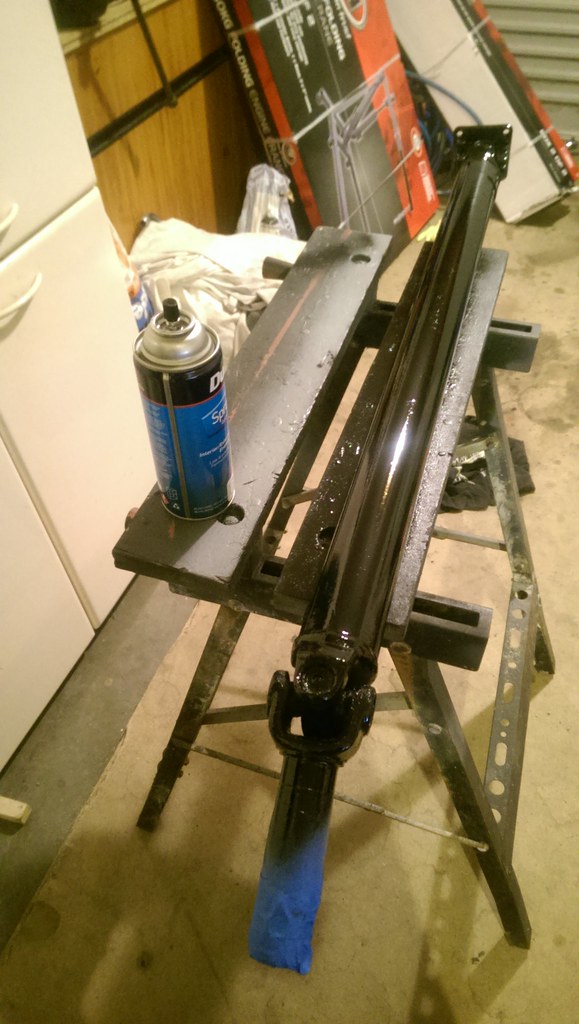
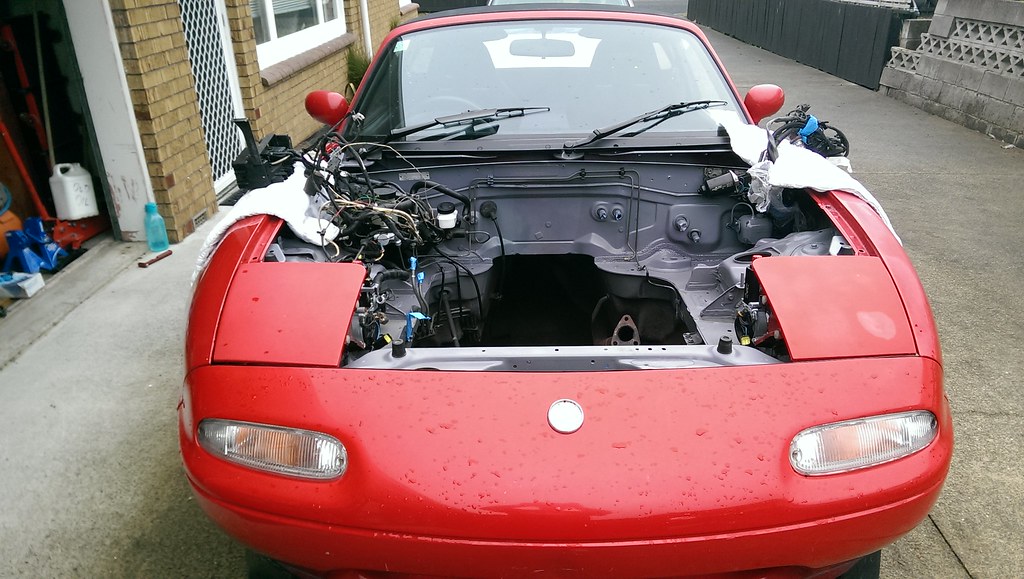
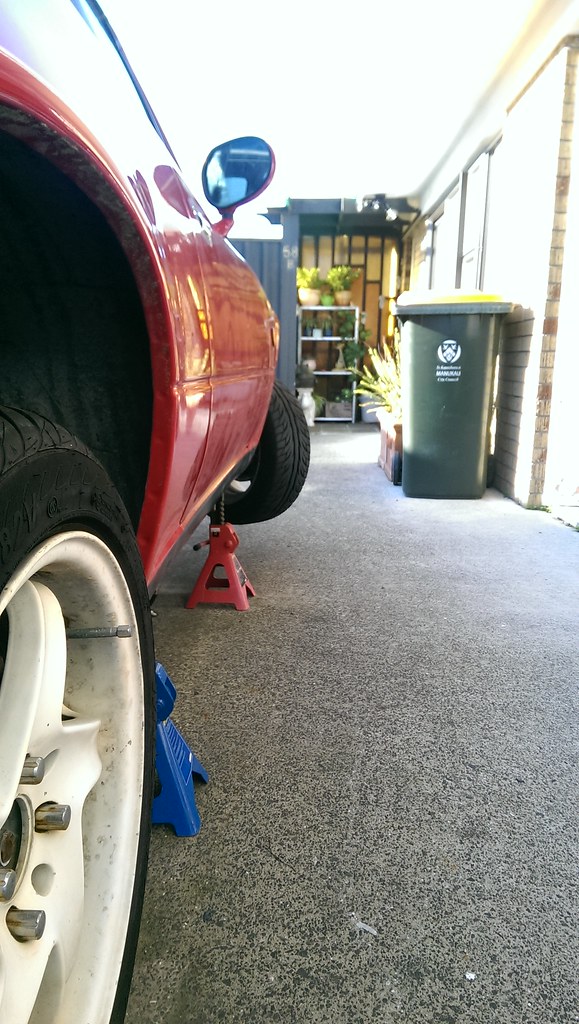
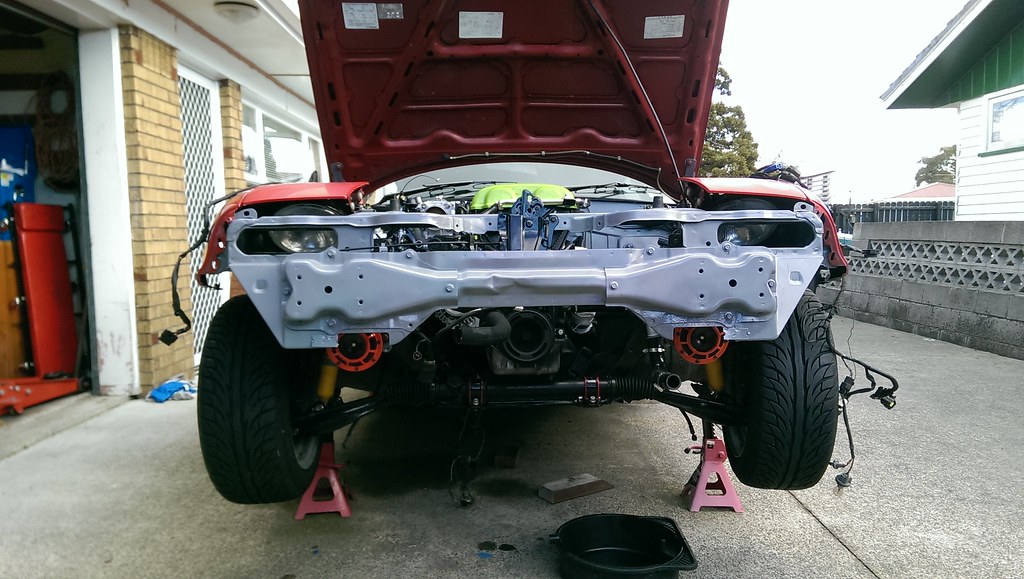
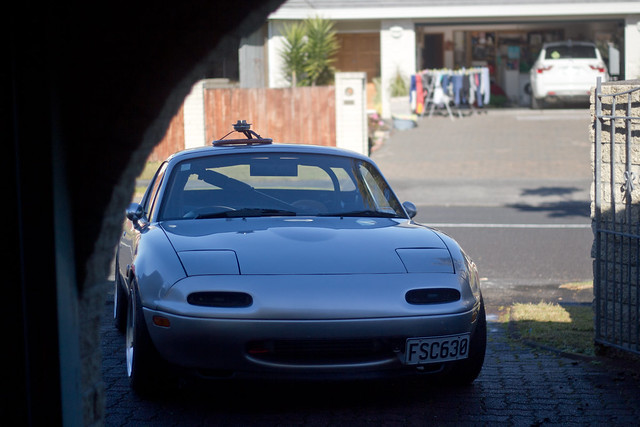
Soooo now she's sitting pretty in the garage with new seats I've never
driven on until I figure out the next step, at least this is a good excuse
to go 6spd!
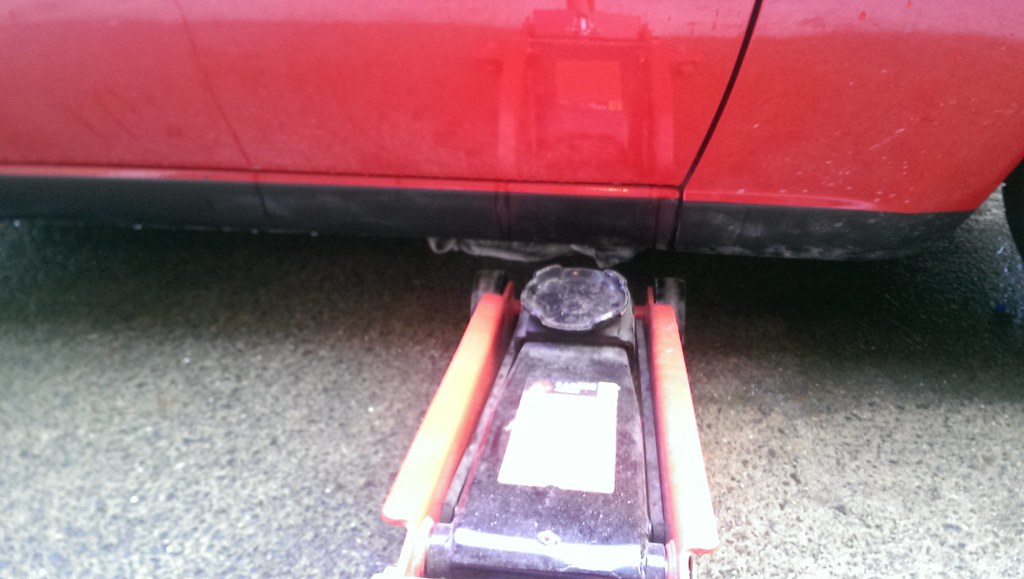
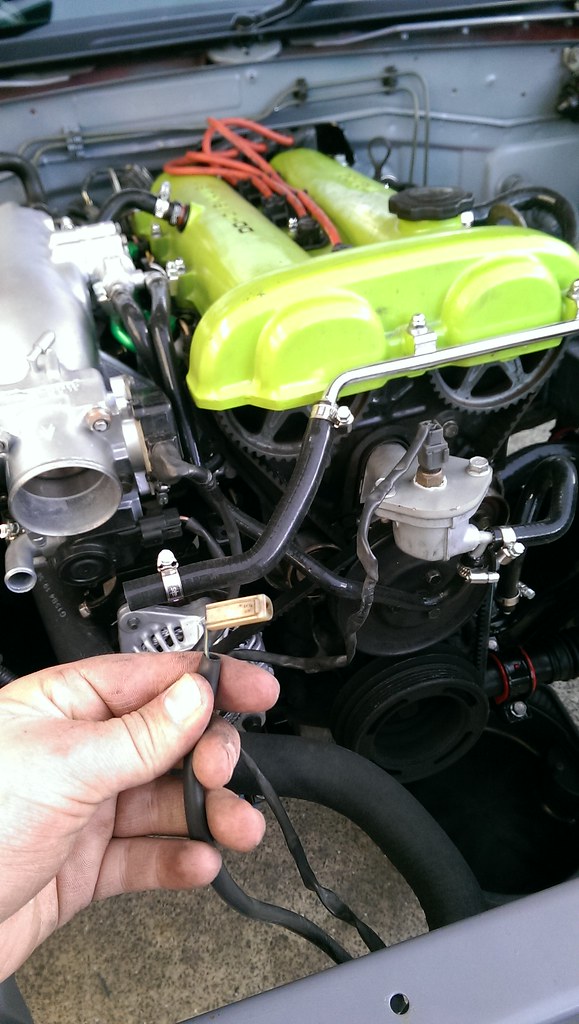
[Image: https://farm4.staticflickr.com/3749/190 ... 5a81_z.jpg ]
(https://flic.kr/p/uXajeg)
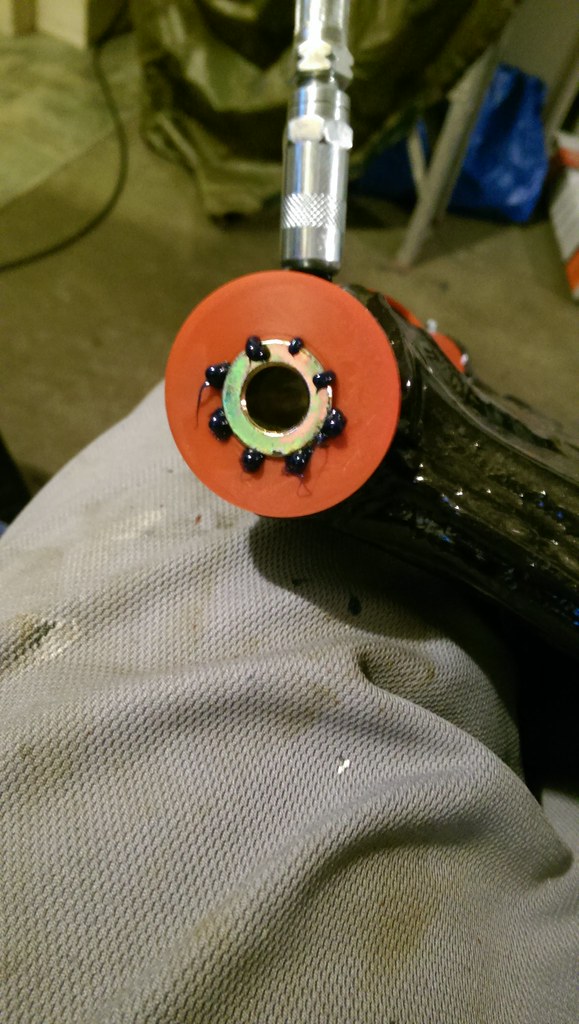
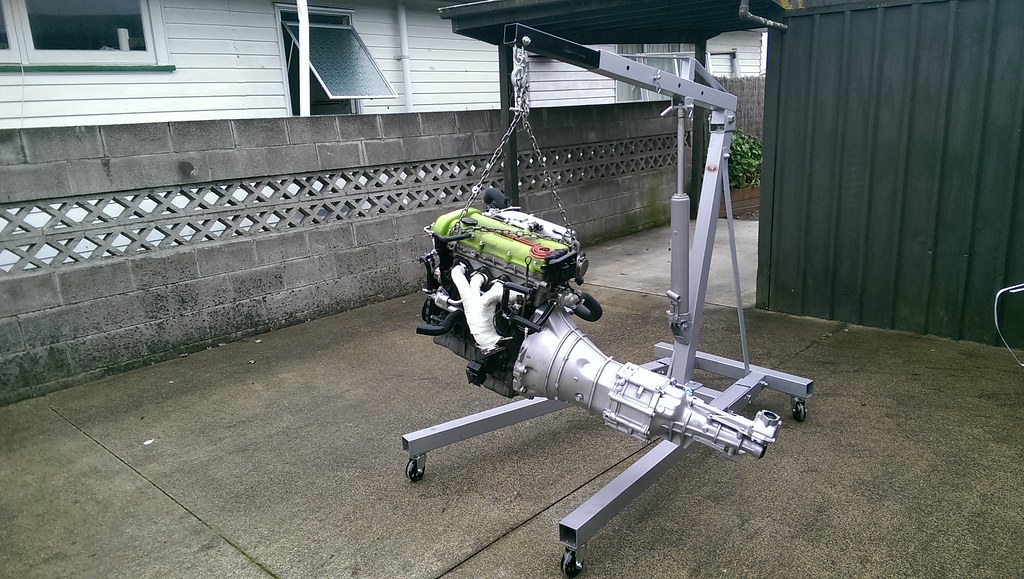
Ps: at this stage I'm pretty it's the gbox, but I could be wrong when it
comes to see what has actually happened (gotta love not having a garage big
enough to work in! yayuhh)
---
This email has been checked for viruses by Avast antivirus software.
https://www.avast.com/antivirus
[Posted via external email]


