Discussion about MX5s, Roadsters & Miatas, not directly fitting into one of the categories below. Please keep it on topic.
Moderators: LilRay.Sun, Furai, Growler, zorruno, jif
-
MrGrey
- I have stars, you haven't. Deal with it

- Posts: 1172
- Joined: Mon Jan 21, 2013 3:52 am
- Location: Northland
Post
by MrGrey » Sat Jul 20, 2013 6:15 pm
I wish to remove this panel and wrap it in CF vinyl.

I recently replaced my tail lights which was pretty straight forward at 4 nuts a piece, but was wondering if anyone has had any experience in removing this panel just so I have a bit of an idea what to expect.
thanks in advance.
oh and as an after thought question, does anyone know what sort of bulbs the tail lights use? I wouldn't mind putting new high quality bulbs in to replace the still working original bulbs.
thanks in advance x2
-
MrGrey
- I have stars, you haven't. Deal with it
- Posts: 1172
- Joined: Mon Jan 21, 2013 3:52 am
- Location: Northland
Post
by MrGrey » Sat Jul 20, 2013 6:59 pm
yep, they use the same bulb harness as the OEM.... so would this be the correct bulb replacement to use?
http://www.superbrightleds.com/cat/led- ... 4--296997/
thank you very much authentic

*high five*
-=edit=- I was just thinking, isn't the rear indicator/stop lights a dual filiment bulb? in which case, I would most likely be best look at something like this combo:
front sidemarkers: (need 2)
194 LED Bulb - 6 SMD LED Wide Angle Wedge Base
Part Number: WLED-xHP6-AC
colour: amber
front parklight/indicators (need 2)
1157 LED Bulb - Dual Intensity 45 SMD LED Tower
Part Number: 1157-A45-T
colour: amber
rear reversing light:
1156 LED Bulb - Single Intensity 45 SMD LED Tower
Part Number: 1156-CW45-T
color: white
rear brake/indicator light:
1157 LED Bulb - Dual Intensity 45 SMD LED Tower
Part Number: 1157-R45-T
color: red
-
Snapfrozen
- I am quitting my job and going 5-ing

- Posts: 747
- Joined: Sun Jun 24, 2012 11:58 am
Post
by Snapfrozen » Sat Jul 20, 2013 9:48 pm
MrGrey - They have about 2-4 nuts (2 on far outside, cant remember if any towards the middle). The problem is the pinch clips. 1 on each side, 1 near number plate, and 1 in the middle under the boot latch through the random hole. I removed the middle one once I got it off the first time as it is a right bitch.
Be patient, once everything is undone, it will come off easily.
-
GRUVBB
- I am quitting my job and going 5-ing
- Posts: 677
- Joined: Sat May 04, 2013 4:50 pm
- Location: Fastlane to Ak
Post
by GRUVBB » Sat Jul 20, 2013 11:56 pm
I got a feeling that Mr Grey will soon have a black car with a small amount of red detail!!!

-
tomtikki
- I have stars and not afraid to use them

- Posts: 239
- Joined: Sat Oct 01, 2011 9:26 am
- Location: Auckland, NZ
Post
by tomtikki » Mon Jul 22, 2013 9:28 am
As above for removing it, don't be too brutal as the plastic gets pretty brittle with age but that obvious.
I wrapped mine in CF about a year ago, after the panel developed a crack that threatened to split it completely in half.
Looks great from a distance but not 100% super close.
Very hard to mould it around the 'sharp' edges of the number plate recess.
Yes not sharp but short hard changes in direction ya know that require heat & stretching one direction then squishing and moulding in another. Fun!
I look forward to seeing how yours turns out coz I want to do mine again since the CF has lost it's shine.
I'm not crazy, my mother had me tested.
-
MrGrey
- I have stars, you haven't. Deal with it
- Posts: 1172
- Joined: Mon Jan 21, 2013 3:52 am
- Location: Northland
Post
by MrGrey » Mon Jul 22, 2013 9:42 am
I hope to get it done later this week (just waiting of the wrap to arrive) and I will post pics once its done. I realize its not going to be a an easy wrap but I am hoping it will look passable

-
tomtikki
- I have stars and not afraid to use them
- Posts: 239
- Joined: Sat Oct 01, 2011 9:26 am
- Location: Auckland, NZ
Post
by tomtikki » Mon Jul 22, 2013 10:10 am
A cpl of basic steps I took was to remove the plastic hook type things just below the number plate -must be for holding Asian number plates?-
I then painted the whole panel black so no blue showed through if I mucked up somehow - glad I did coz the wrap didn't stick to the minor recess of the bootlock or around the number plate lights.

but you can't tell unless you get really close.
When I do mine again I would do it in 3 pieces/sections. Plate recess 1st, plate recess edges 2nd and then the flat panel last.
My attempt was kinda done in 1.5 sections of wrap but where it does overlap you can't see the seams unless you get real close.
I think mine is lifting in one courner of the plate recess coz my 1st(&2nd) attempt failed & I ran out of wrap & had to use an off cut.
I should have added extra adhesive to those points as the wrap gets stretched heaps there & really doesn't want to stay stuck!
Good luck, the result is worth it!

I'm not crazy, my mother had me tested.
-
MrGrey
- I have stars, you haven't. Deal with it
- Posts: 1172
- Joined: Mon Jan 21, 2013 3:52 am
- Location: Northland
Post
by MrGrey » Tue Jul 23, 2013 7:09 am
Thank you Ross
-
brooke5
- Tentative sideways sliding....

- Posts: 23
- Joined: Tue Jul 10, 2012 9:45 pm
- Location: CHC
Post
by brooke5 » Tue Jul 23, 2013 9:31 am
I've undertaken this project myself....
Patience is everything. Looks good, as long as you don't look at mine too close in the tiny wee corners etc haha
-
Attachments
-
 Viewed 12058 times")
'89 JDM NA6 - Stock-ish for now
'96 Celica - Because DD
-
tomtikki
- I have stars and not afraid to use them
- Posts: 239
- Joined: Sat Oct 01, 2011 9:26 am
- Location: Auckland, NZ
Post
by tomtikki » Tue Jul 23, 2013 10:48 am
Yeah I dont have much patience, yours looks WAY better up close than mine.

Well done!
-I really need to redo mine now I seen that
damm.
I'm not crazy, my mother had me tested.
-
brooke5
- Tentative sideways sliding....
- Posts: 23
- Joined: Tue Jul 10, 2012 9:45 pm
- Location: CHC
Post
by brooke5 » Tue Jul 23, 2013 12:23 pm
Haha cheers mate!
I actually quite enjoyed it, probably took about 5 hours over a few nights.
I'm thinking I will paint it black, or drop Carbonmiata a line in the future, but the vinyl is pretty dam effective! And quite hardy, mind you my car is bit of a garage queen haha!
'89 JDM NA6 - Stock-ish for now
'96 Celica - Because DD
-
MrGrey
- I have stars, you haven't. Deal with it
- Posts: 1172
- Joined: Mon Jan 21, 2013 3:52 am
- Location: Northland
Post
by MrGrey » Fri Jul 26, 2013 3:46 pm
took 3 attempts before I was happy with the result.
due to the depth of the license plate area stretching the vinyl was ..... problematic
while I had everything apart I put on a number plate frame and painted the outer lips of the tail lights (the plastic outer rims where too light for my tastes)
here's how it looks at the moment.

GRUVBB wrote:I got a feeling that Mr Grey will soon have a black car with a small amount of red detail!!!
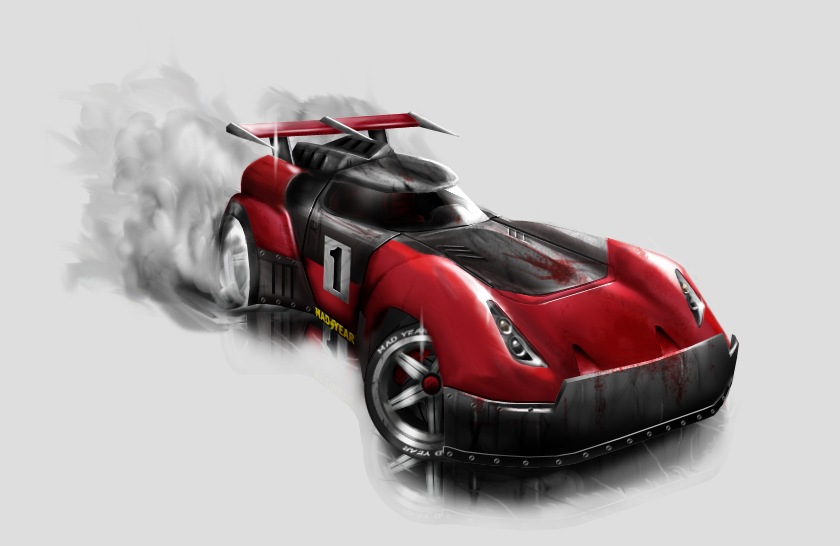
well, admittedly, the car from Carmageddon TDR is my inspiration:
[/img]
-
chris
- I have stars, you haven't. Deal with it
- Posts: 1397
- Joined: Mon Mar 26, 2012 8:59 am
- Location: Auckland
Post
by chris » Fri Jul 26, 2013 4:11 pm
Painting the bezel of the lights made a hell of a difference...
1 X Primera
2 X Silvia
1 X BMW E30
1 X Audi A6
3 X Mazda MX5 (1989, 1990, 1991)
-
authentic
- I have stars and not afraid to use them
- Posts: 277
- Joined: Wed Jun 06, 2012 8:45 pm
- Location: Wellington
Post
by authentic » Sun Jul 28, 2013 4:50 pm
Agreed. Chrome, shiny tail lights are no bueno.
-
brooke5
- Tentative sideways sliding....
- Posts: 23
- Joined: Tue Jul 10, 2012 9:45 pm
- Location: CHC
Post
by brooke5 » Mon Jul 29, 2013 10:17 am
[quote="MrGrey"]took 3 attempts before I was happy with the result.
due to the depth of the license plate area stretching the vinyl was ..... problematic
while I had everything apart I put on a number plate frame and painted the outer lips of the tail lights (the plastic outer rims where too light for my tastes)
here's how it looks at the moment.
Looks good, how did you tackle the part around the number plate? mines like a jig saw puzzle lol
'89 JDM NA6 - Stock-ish for now
'96 Celica - Because DD
-
NicF
- Need, more, 5-ing, time....

- Posts: 185
- Joined: Tue Feb 12, 2013 12:00 pm
- Location: Sth Canterbury
Post
by NicF » Mon Jul 29, 2013 3:05 pm
I like it, especially with the tail light surronds painted.
99 NB MX5
91 NA MX5
92 B2600 offroad
Because RWD is ALWAYS more fun
-
MrGrey
- I have stars, you haven't. Deal with it
- Posts: 1172
- Joined: Mon Jan 21, 2013 3:52 am
- Location: Northland
Post
by MrGrey » Mon Jul 29, 2013 7:56 pm
The number plate bit was tricky, I did my best to stretch/spread it down into the bottom flat piece and the 2 side corners and trimmed it off about 25 mm in on the bottom.I then had 1 big rectangle for behind the number plate and a strip under each of the plate lights.
It took 3 attempts (ripping it all off and restarting with fresh vinyl) until I got it to a point that I was happy enough with the outcome. I am glad I did it, but it was a bitch to wrap. It is far from perfect but looks good to the untrained eye.
Return to “MX5 Discussion”
Who is online
Users browsing this forum: No registered users and 39 guests

